Fresh plaster gives you the ideal starting point for a smooth, clean interior. However, painting over new plaster requires more care than painting an already decorated wall. If you apply paint too soon, skip the mist coat or fail to prepare the surface properly, you may end up with flaking, patchy colour, blistering or hairline cracks.
This guide explains how to paint newly plastered walls, including when to paint new plaster, how long it takes to dry, how to apply a mist coat and which common mistakes to avoid.
If you would rather leave the preparation and decorating to an experienced team, Norfolk Plaster provides complete plastering and painting services across Norwich, Kings Lynn, Swaffham, Fakenham, Hunstanton and surrounding areas.
When can you paint new plaster?
The correct drying time depends on the type and thickness of the plaster, the wall beneath it and the conditions inside your property.
As a general guide:
These are estimates rather than fixed rules. A freshly plastered room in a warm, well-ventilated house may dry more quickly than a cold room with limited airflow. Norfolk homes near the coast can also experience higher humidity, particularly during wet or windy weather, which may extend the drying period.
How to tell if plaster is dry enough to paint
Do not rely on the calendar alone. Before painting, check that:
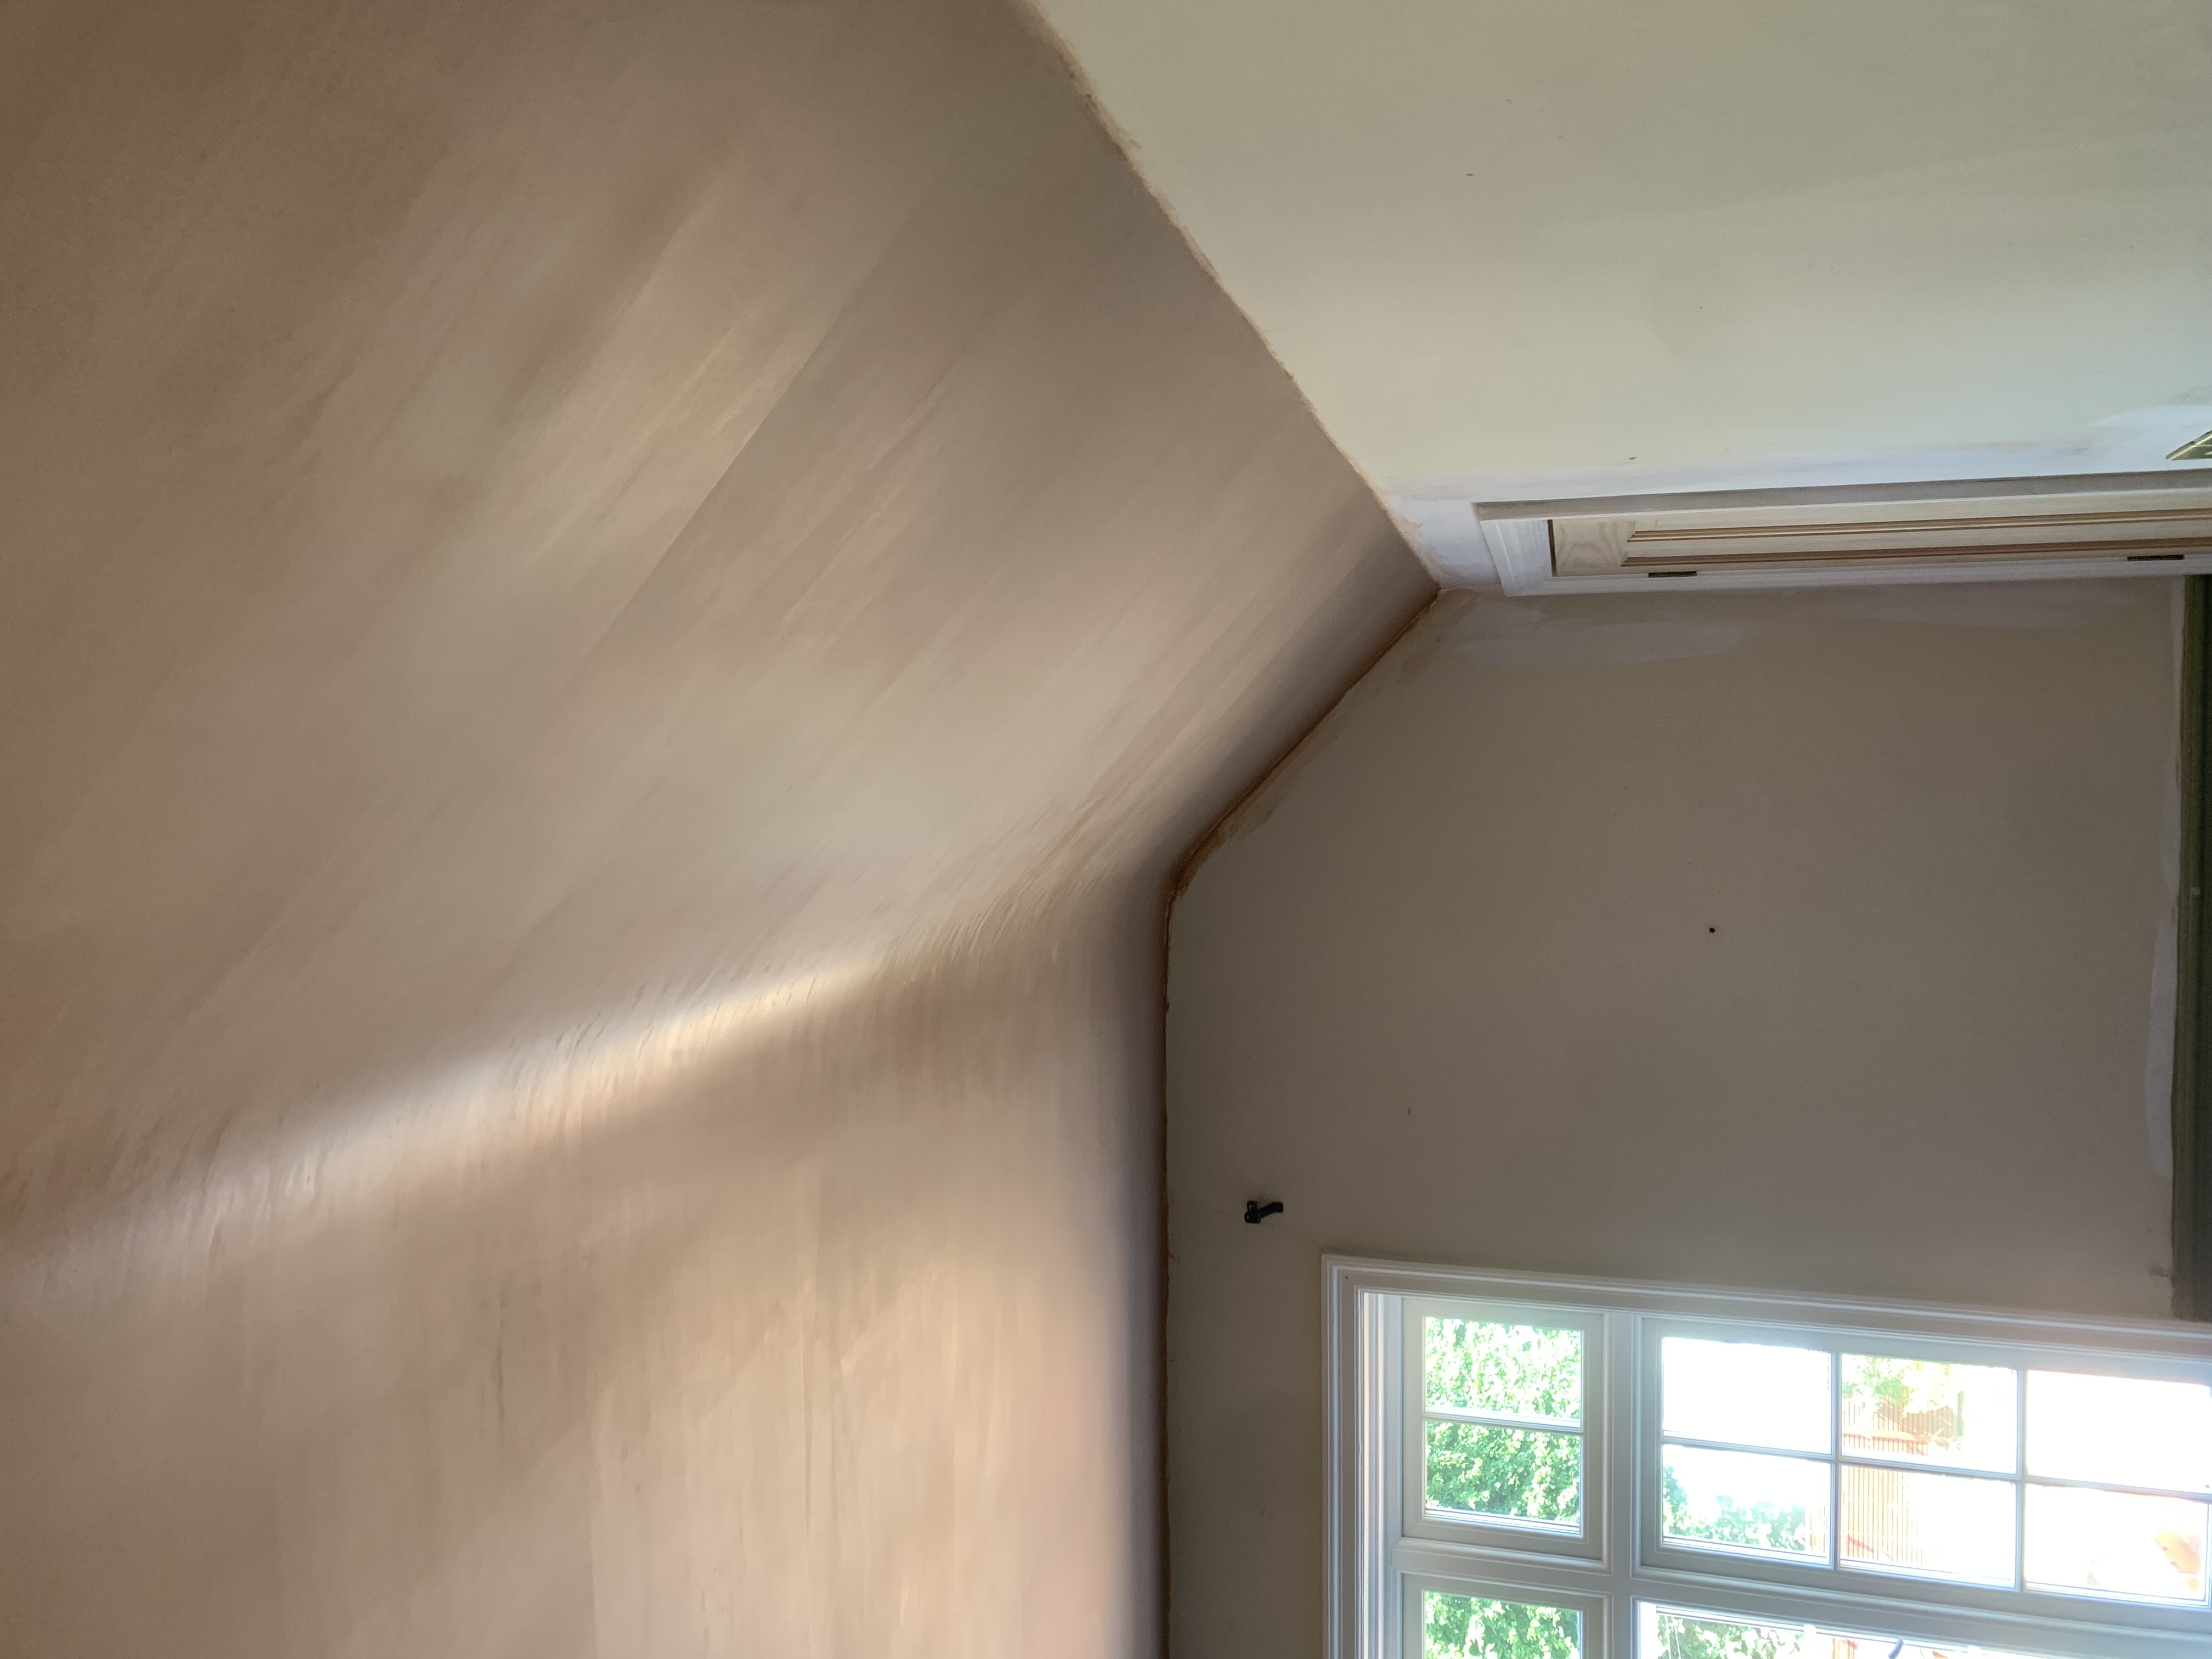
The plaster has changed from a darker pink, brown or grey colour to a consistent pale shade.
There are no darker, damp-looking patches around corners, ceilings or repaired areas.
The surface feels dry rather than cold, clammy or damp.
The room has had steady ventilation without excessive heat.
There is no visible condensation affecting the walls.
If darker areas remain, wait longer. Painting over damp plaster can trap moisture beneath the coating and lead to poor adhesion, blistering and peeling.
What is a mist coat?
A mist coat is a thinned first coat of suitable matt emulsion applied to bare plaster. New plaster is porous, meaning it can absorb liquid quickly. A full-strength topcoat may sit unevenly on the surface, producing a patchy finish and increasing the risk of adhesion problems.
The mist coat penetrates the porous plaster and creates a more stable substrate: the surface to which the finishing paint must bond.
A suitable mist coat helps to:
Reduce uneven paint absorption.
Improve the bond between the plaster and finishing coats.
Reveal minor imperfections before the final decoration.
Create a more uniform surface for the topcoat.
Use a product that is specifically suitable for new plaster, or a non-vinyl matt or contract matt emulsion recommended by the manufacturer. Always check the paint tin, as dilution instructions vary between products. A commonly used approach is to add approximately 10–30% clean water, but the manufacturer’s instructions should take priority.
Avoid using a high-sheen or heavily vinyl finish as the first coat on bare plaster unless the product specifically states that it is suitable.
Step-by-step: how to paint newly plastered walls
Step 1: Allow the plaster to dry thoroughly
Patience is the most important part of painting over new plaster. Rushing this stage can undermine otherwise excellent plastering work.
Allow the plaster to dry naturally, using gentle ventilation. Open windows slightly where practical and leave internal doors open to encourage airflow. Avoid directing powerful heaters at the wall or trying to force the process with excessive heat, as the surface may dry faster than the plaster beneath it.
If you are unsure whether the plaster is ready, it is safer to wait or ask a professional to inspect it.

Step 2: Inspect the surface
Look across the wall in good natural or even artificial light. Small surface marks may be cosmetic, while larger defects can indicate a preparation or movement issue.
Minor issues may include:
Fine trowel marks.
Small pinholes.
Slight roughness around an edge.
A shallow indentation or isolated scratch.
These can usually be addressed with light filling and sanding once the plaster is dry.
However, take more care if you notice:
Cracks that are widening.
Cracks running through several surfaces.
Damp staining or salt deposits.
Loose, hollow or flaking plaster.
Significant movement around windows, doors or wall junctions.
Paint will not solve a structural or moisture problem. For guidance on more serious defects, see our advice on cracked wall repair and cracked plaster ceiling repair.
Step 3: Remove dust and prepare the substrate
New plaster can leave a fine layer of dust on the surface. Remove it carefully using a soft brush or vacuum with a suitable brush attachment. Do not saturate the wall with water.
If filling is required, use a compatible fine surface filler. Allow it to dry fully, then sand gently with fine abrasive paper. The goal is to remove raised edges and imperfections: not to aggressively cut into the new plaster.
Before applying paint:
Protect floors, skirting boards, sockets and furniture.
Mask edges where necessary.
Check that the wall is clean and dry.
Remove all loose dust after sanding.
Make sure the room is at a suitable temperature for the paint.
Good preparation prevents the most visible decorating defects.
Step 4: Apply the mist coat
Mix or use your chosen mist-coat product according to the manufacturer’s guidance. Apply the coat evenly with a suitable roller, cutting in around corners and edges with a brush.
Work in manageable sections and maintain a wet edge, meaning you overlap each section while the previous section is still workable. This helps reduce visible lines and uneven absorption.
Do not apply the mist coat excessively thickly. It should soak into the plaster rather than form a heavy film on top. Avoid repeatedly rolling over areas that have started to dry, as this can disturb the finish.
Allow the mist coat to dry completely. Depending on the product, temperature and ventilation, this may take several hours or up to 24–48 hours. Follow the instructions on the tin before applying further coats.
Step 5: Lightly sand and inspect again
Once the mist coat is dry, inspect the wall under good lighting. It may reveal small defects that were difficult to see against bare plaster.
Lightly sand any rough areas, then remove the dust. Do not over-sand, as this can expose or weaken the plaster surface.
This is also the stage to check for uneven absorption. A few variations can be normal, but widespread patchiness may indicate that the wall was not sufficiently dry, clean or evenly sealed.
Step 6: Apply the finishing coats
Apply two full coats of your chosen interior emulsion, allowing the recommended drying time between coats.
For the best result:
Stir the paint thoroughly before and during use.
Use a quality roller suitable for the wall texture.
Keep brushwork controlled around corners and fittings.
Avoid thinning the finishing coats unless the manufacturer instructs you to.
Do not close windows and doors completely if the room needs ventilation.
Allow the paint to cure before placing furniture tightly against the wall.
A matt finish is often suitable for walls and ceilings because it helps disguise minor surface variations. Washable or durable finishes may be preferable in hallways, kitchens and busy family rooms.

Common mistakes when painting over new plaster
Painting before the wall is dry
This is the most serious and common mistake. Moisture trapped beneath the paint can cause peeling, bubbling, discolouration and poor adhesion.
Skipping the mist coat
Applying standard emulsion directly to bare plaster often creates an uneven, patchy appearance. The paint may absorb at different rates across the wall, particularly where plaster thickness varies.
Using the wrong first coat
Gloss, silk or unsuitable vinyl paints may not bond correctly to porous plaster. Use a compatible mist-coat product or suitable matt emulsion instead.
Applying paint too heavily
Thick coats can dry unevenly and may obscure defects temporarily rather than resolve them. Several controlled coats are more reliable than one heavy application.
Forcing the drying process
High heat can create uneven drying and may contribute to cracking. Steady airflow and normal indoor temperatures are generally safer.
Ignoring movement or damp
Hairline cosmetic marks are not always a concern, but recurring cracks, damp patches and loose plaster need investigation before decoration continues.
Should you paint new plaster yourself or hire a professional?
Painting newly plastered walls is possible as a DIY project, particularly when the room is small and the plasterwork is sound. However, professional decorating can be worthwhile when:
The room has complex angles, bulkheads or high ceilings.
The plaster has been repaired rather than newly applied.
You are dealing with multiple surfaces or adjoining woodwork.
The property has condensation, damp or historic movement.
You want a consistent finish throughout the house.
You need the work completed efficiently with minimal disruption.
At Norfolk Plaster, we can manage the complete process from interior plastering and repairs through to preparation, painting and final decoration. That gives you one point of contact instead of coordinating separate trades.
Final checklist for painting newly plastered walls
Before you begin, confirm that:
The plaster is a consistent pale colour.
There are no damp or dark patches.
The wall feels dry rather than cold and clammy.
Dust has been removed.
Minor imperfections have been filled and sanded.
The mist coat is suitable for bare plaster.
The mist coat has dried fully.
You have checked the paint manufacturer’s instructions.
The room has steady, natural ventilation.
Any significant cracks or damp problems have been investigated.
When you follow these steps, painting over new plaster becomes far more predictable. Allowing sufficient drying time, preparing the substrate properly and applying the correct mist coat will help you achieve a durable, even finish.
For professional help with plastering, painting and decorating in Norfolk, contact Norfolk Plaster to discuss your project.
Frequently asked questions
How long should you wait before painting newly plastered walls?
A thin skim coat may be ready in around 3–7 days, while solid walls, thicker coats and cool or humid rooms may need 7–14 days or longer. Always check that the plaster is uniformly pale and completely dry before painting.
Can you paint new plaster without a mist coat?
It is not recommended. Bare plaster is porous and can absorb full-strength emulsion unevenly. A suitable mist coat helps stabilise the surface and improve the finish of the topcoats.
How many coats of paint do new plaster walls need?
Most newly plastered walls need one mist coat followed by two full finishing coats. The exact number depends on the paint, colour and condition of the surface.
Can you use PVA before painting new plaster?
Do not apply PVA unless the specific product or system manufacturer instructs you to. PVA can leave a sealed surface that may interfere with paint adhesion. A suitable mist coat is normally the safer approach.
What if the plaster is still patchy after drying?
Small variations may be normal, but persistent dark patches indicate that the wall may still contain moisture or have an underlying issue. Wait longer and seek professional advice if the problem does not improve.