
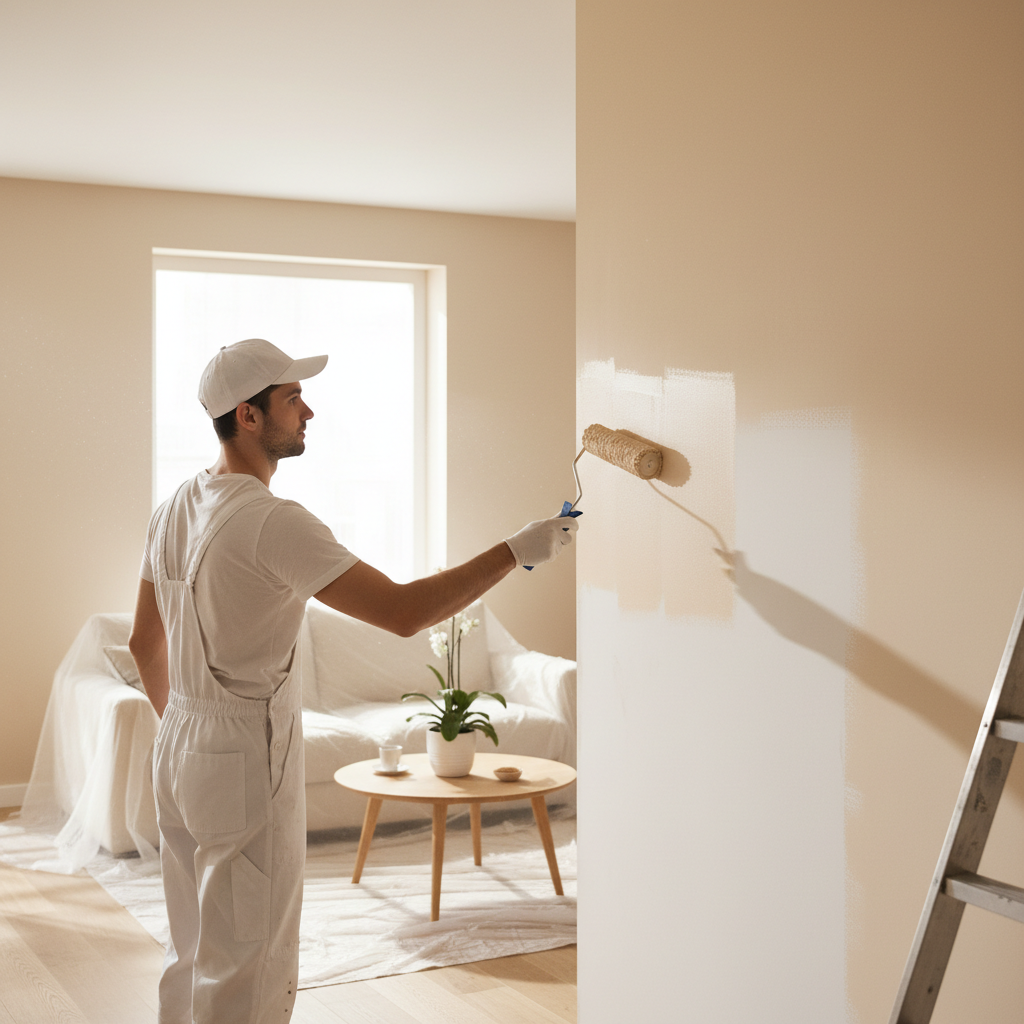
There is nothing quite like stepping back and admiring a freshly skimmed room. The surfaces are crisp, smooth, and gleaming with potential. Whether you are renovating a Victorian terrace in Norwich, updating a coastal cottage in Hunstanton, or completing a new build in King's Lynn, getting your walls plastered is a major milestone in any home improvement project.
However, the excitement of seeing that flawless skim coat (the final, smooth layer of plaster applied over plasterboard or backing plaster) often leads homeowners to rush straight into the decoration stage. Eager to see colour on the walls, many DIY decorators grab a roller and dive right in: only to find their paint bubbling, peeling, or cracking within weeks.
At Norfolk Plaster, we provide a complete end-to-end service across plastering norfolk and painters and decorators norwich, taking your project seamlessly from the first trowel stroke of wet plaster to the final coat of paint. Because we handle the entire process under one roof, we regularly see the heartbreak caused by well-intentioned painting mistakes on fresh plaster.
To help you protect your investment, we have broken down the 7 most common mistakes homeowners make when painting newly plastered walls: and exactly how to fix them.
1. Painting Before the Plaster is Fully Dry
The most critical mistake you can make is painting damp plaster. Fresh plaster sets through a chemical reaction rather than just drying out, retaining a significant amount of moisture within the substrate (the underlying structural layer).
The Mistake: Applying paint when the surface looks dry on top, or rushing because you are on a tight renovation schedule.
The Consequence: Trapped moisture has nowhere to go. As it tries to escape, it breaks the bond between the paint and the wall, leading to unsightly blistering, flaking, and peeling. Worse still, trapping moisture can foster mould growth behind your fresh paint film.
The Fix: Patience is key. Under normal conditions (18–20°C with good ventilation), fresh plaster takes anywhere from 2 to 4 weeks to dry completely. A properly dried wall will have a uniform pale pink or creamy colour with zero dark, damp patches.

2. Skipping the Mist Coat Entirely
If you jump straight from bare plaster to a standard, high-sheen emulsion or vinyl paint, you are setting yourself up for failure.
The Mistake: Assuming standard interior paint can be applied directly to a pristine skim coat.
The Consequence: Fresh plaster is intensely porous, acting much like a dry sponge. It will aggressively suck all the moisture out of standard paint instantly, causing the paint film to dry too fast, lose its binding agents, and flake off in sheets at the slightest knock.
The Fix: Always apply a mist coat. A mist coat is a specially diluted base coat: typically a mixture of matt emulsion and clean water (around 70:30 or 50:50, depending on your paint manufacturer's guidelines): that penetrates deep into the plaster pores, sealing the surface and creating a secure key (an adhesive anchor) for your subsequent finish coats.
3. Mixing the Mist Coat Incorrectly (Too Thick or Too Thin)
Getting the mist coat right is a delicate balancing act.
The Mistake: Using undiluted paint, or watering it down so excessively that it runs down the wall like milk.
The Consequence: If your mist coat is too thick, it won't soak into the plaster; instead, it sits on the surface like a skin and will eventually peel off. If it is too thin, it provides inadequate coverage and fails to seal the porosity of the wall.
The Fix: Follow the manufacturer's data sheet for your chosen non-vinyl contract matt emulsion. Aim for a consistency similar to single cream: thin enough to be absorbed readily by the plaster, but with enough body to leave a uniform, semi-translucent film.
4. Failing to Spot-Fill and Sand Before Painting
Plastering is an art form, but even the finest craftsmanship can leave tiny surface imperfections: such as minor ridges, tiny pinholes, or faint trowel marks.
The Mistake: Painting over minor blemishes without preparing the surface, expecting paint to hide them.
The Consequence: Paint actually highlights surface texture rather than hiding it. Light catching a wall from a nearby window will instantly reveal every un-sanded ridge or unfilled indentation.
The Fix: Once your mist coat has been applied and dried, inspect the walls closely under bright, angled lighting. Use fine-grit sandpaper (around 120 to 180 grit) to gently smooth away any imperfections, feathering the edges of any filler so they blend invisibly into the surrounding wall. Dust down thoroughly before proceeding.

5. Ignoring Room Temperature and Humidity
Environmental conditions play a massive role in how paint behaves on newly plastered surfaces. Norfolk's coastal climate: from breezy Hunstanton to damp winter days in Great Yarmouth: can introduce challenging humidity levels.
The Mistake: Painting in a cold, unheated room or closing all the windows to keep dust out while the paint dries.
The Consequence: Low temperatures and high humidity drastically slow down evaporation and curing times. If you apply a top coat over a mist coat that is only touch-dry rather than fully cured, the trapped solvents can cause bubbling and wrinkling.
The Fix: Maintain a stable room temperature between 18°C and 20°C. Ensure gentle, continuous ventilation by cracking windows slightly or using a circulating fan. Allow a full 24 hours for a mist coat to cure thoroughly before applying your first full-strength coat of paint.
6. Using the Wrong Type of Paint for Your Base Coat
Not all paints are created equal, especially when it comes to newly rendered or skimmed surfaces.
The Mistake: Grabbing a tin of silk, vinyl-heavy, or scrubbable kitchen and bathroom paint for your base coat.
The Consequence: Vinyl and silk emulsions contain plasticising resins that form an impermeable seal. If applied too early or used as a mist coat, they block the plaster's ability to breathe and dry naturally, guaranteeing peel-off disaster.
The Fix: Stick to a breathable, water-based contract matt or dedicated plaster sealer for your priming stage. Once your mist coat is cured, you can transition to your preferred durable, washable, or decorative finishes for your top coats.
7. Rushing the Recoat Times Between Final Layers
You have waited weeks for the plaster to dry, mixed your mist coat perfectly, and applied your primer. But impatience can still strike in the final stretch.
The Mistake: Slapping on the second full coat of paint while the first coat is still slightly cool or tacky to the touch.
The Consequence: The roller will drag and pull at the semi-dry undercoat, creating unsightly patchy spots, roller marks, and brush ridges that ruin an otherwise professional finish.
The Fix: Always check the drying and recoat times on your paint tin (typically 2 to 4 hours between coats under standard conditions). Take your time, maintain a "wet edge" while rolling, and apply two even top coats for a rich, durable finish.
Summary of Mistakes and Quick Fixes

Why an End-to-End Specialist is Your Safest Bet
Achieving a showroom-quality finish on newly plastered walls requires precision, timing, and an intimate understanding of how plaster and paint interact. When homeowners hire separate plasterers and painters, miscommunication frequently occurs: plasterers finish their work and leave, and painters arrive later without knowing exactly when the plaster was laid or how dry the substrate truly is.
At Norfolk Plaster, we eliminate this friction entirely. Our comprehensive service covers the entire interior finishing process under one roof:
Expert Interior Plastering: Skim coating, board finishing, and flawless surface preparation across Norwich, King's Lynn, Swaffham, Fakenham, and surrounding areas.
Professional Interior & Exterior Decorating: Precise priming, professional mist coating, wallpaper hanging, and immaculate paint application.
A Single Point of Contact: No coordinating multiple contractors, no finger-pointing if issues arise, and a seamless, hassle-free guarantee from start to finish.
Ready to transform your home without the stress? Explore our professional services or get in touch with our team today to discuss your next renovation project in Norfolk.


