
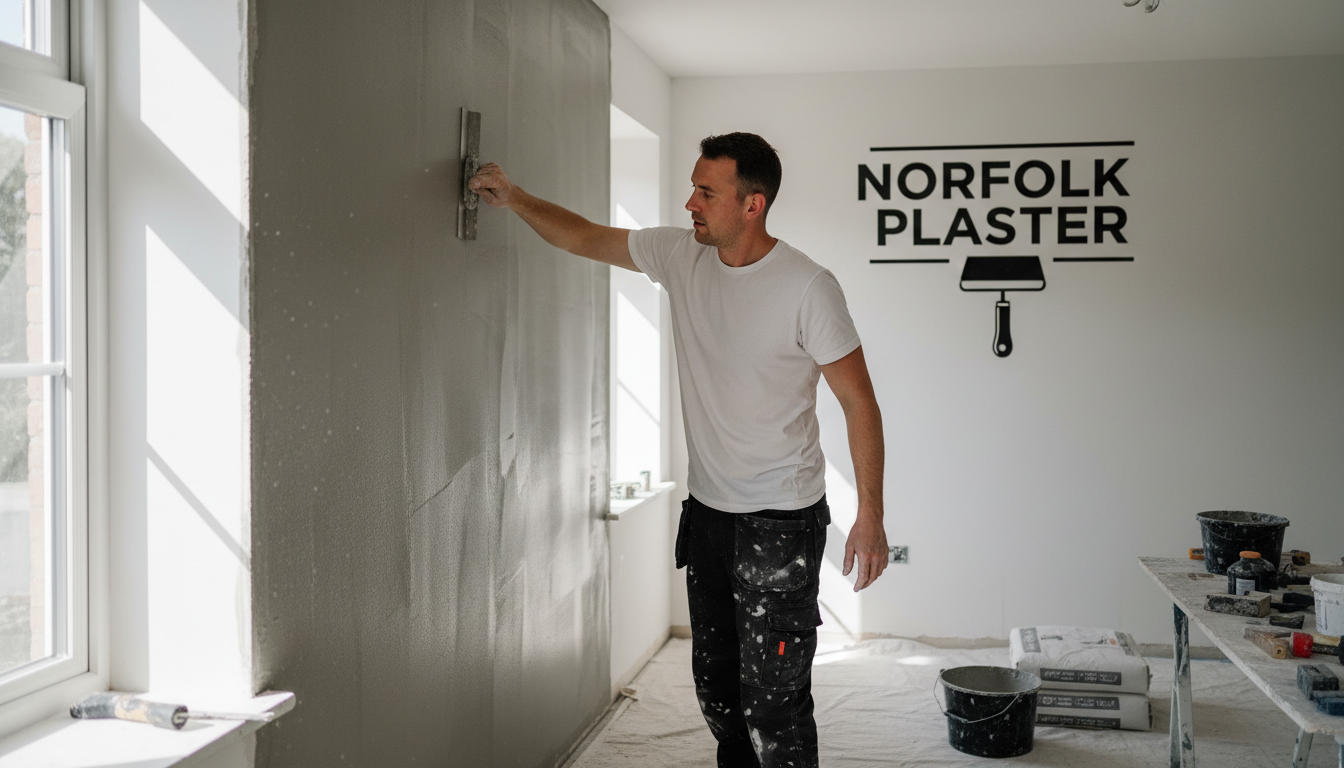
A newly plastered wall can look smooth at first glance, yet show ridges, hollows or patchy coverage once it dries and catches the light. The difference between an average result and a professional plaster finish is rarely one dramatic trick. It comes from a series of careful decisions: preparing the background, controlling the plaster, checking the surface and allowing it to dry properly.
If you’re comparing plastering contractors, it helps to know what to look for, and what a plaster finish can reasonably be expected to achieve. At Norfolk Plaster, we approach each surface as the foundation for the next stage of the room, whether that’s painting, wallpapering or another decorative finish.
A professional finish starts before the plaster goes on
Plaster can only perform as well as the surface beneath it. Before work begins, the plasterer should assess the substrate, the wall or ceiling receiving the plaster, for loose material, dust, cracks, damp, uneven suction and signs of movement.
Preparation might include removing loose or flaking plaster, filling deeper defects, applying a suitable bonding or priming treatment, or agreeing whether damaged plasterboard needs replacing. Different backgrounds absorb water differently. If that variation isn’t addressed, the plaster can set unevenly, making it harder to achieve a consistent finish.
That’s why a quick skim over an unstable or unsuitable surface isn’t always the right solution. A professional contractor explains what preparation is needed and why, rather than promising that every problem can be hidden under a thin coat.
The details that make the difference
1. Consistent coverage, not just a smooth-looking patch
A proper skim coat should cover the agreed area evenly. Thin or missed patches may stand out after drying, especially when paint highlights differences in texture or absorption. On plasterboard, joints and fixings also need suitable treatment so they don’t telegraph through the finished surface.
A professional will work methodically across the wall or ceiling, keeping control of the material as it firms up. The aim is a continuous finish, not isolated smooth areas surrounded by visible transitions.
2. Feathering that hides the join
Feathering means spreading the edge of a repair or coat progressively thinner into the surrounding surface. Done well, it makes the transition difficult to see once decorated. Done poorly, a patch can leave a raised lip or a shallow outline that catches daylight.
Feathering matters around repaired cracks, filled chases, board joints and the edges of local repairs. It also needs care when joining newly plastered areas to existing surfaces. The British Gypsum White Book guidance on finishes discusses the importance of finishing joint treatments into the board field where needed to help conceal the joint.

3. Flatness as well as smoothness
A wall may feel smooth to the touch but still look uneven across its full length. Flatness describes how even the plane of the surface is; smoothness describes its texture. Both matter, but they aren’t the same thing.
The expected result depends on the substrate, the scope of the work and what the room will be used for. Strong light running across a wall, often called raking or glancing light, can make small variations more visible than ordinary daylight. The National House Building Council’s guidance on walls and ceilings sets out assessment criteria for relevant new-build work. It’s a useful reminder that finish quality can be assessed systematically, but project-specific standards should be agreed rather than assumed to apply universally.
For your own inspection, look at the surface in normal daylight from a reasonable distance. A straightedge can help identify noticeable hollows or ridges, while an extremely bright lamp held close to the wall can exaggerate minor marks that wouldn’t be apparent in everyday use.
4. Neat junctions and careful protection
Corners, ceiling lines and the edges around woodwork are where rushed work often becomes obvious. A tidy finish should meet adjoining surfaces cleanly, without excessive build-up, torn edges or careless smears on timber and fittings.
The contractor should also protect floors, doors and nearby surfaces before work starts. Careful setup isn’t separate from craftsmanship: it helps the team work accurately and leaves you with less cleaning and repair to do afterwards.

Drying discipline is part of the job
Fresh plaster changes colour as it dries, usually becoming lighter as moisture leaves the surface. Drying time varies with coat thickness, ventilation, temperature and humidity. A fixed number of days cannot guarantee that every wall is ready to decorate.
Avoid trying to speed things up with intense heat or strong direct airflow. Rapid, uneven drying can contribute to cracking or other problems. Instead, follow the plaster and paint manufacturers’ instructions, keep the room appropriately ventilated and wait until the surface is dry enough for the intended decoration.
Painting too soon can trap moisture or lead to patchy results. Before decorating, confirm who is responsible for checking readiness and whether a suitable mist coat or other preparation is required. Norfolk Plaster’s plastering and finishing services cover the process from surface preparation through to interior painting and decorating, helping keep those stages coordinated.
Minor marks or a bigger problem?
Not every small imperfection means the plastering has failed. Plaster is applied by hand, and subtle variations may be more noticeable under harsh lighting than they are in normal room conditions.
Use this quick guide to decide what you’re seeing:
Often cosmetic: slight texture variation, a small isolated mark, or a fine crack that appears as a building dries or settles.
Worth asking the plasterer to inspect: visible ridges, recurring trowel lines, hollow-sounding areas, peeling, or a patch that remains obvious after drying.
Needs wider investigation: damp, repeated cracking, significant movement, or damage that keeps returning after repair.
Cracks around corners or openings can be associated with movement, but the cause can’t be diagnosed reliably from appearance alone. If a crack is widening, recurring or accompanied by other signs of structural change, seek an appropriate professional assessment rather than simply covering it with fresh plaster.

Choosing plastering contractors: questions worth asking
A clear conversation before work begins helps prevent misunderstandings. Ask prospective plastering contractors:
What preparation and repairs are included?
Is the job a reskim, a repair, plasterboarding or a larger plaster system?
How will corners, board joints and transitions be treated?
What finish should I expect under the room’s lighting and planned decoration?
How will the area be protected, and who handles cleanup?
How long should the plaster dry before the next stage?
A quote should describe the work clearly enough for you to compare like with like. If you’re a builder or property manager, agree the finish and handover expectations with the other trades in advance. Our contractor services are designed to support residential and commercial projects with reliable coordination from plastering through decoration.
One team from plaster to paint
The finish is only one part of a successful room. Preparation, plastering, drying, painting and decorating all affect the final result. When separate contractors handle each stage without clear handovers, delays and avoidable rework can follow.
Norfolk Plaster provides an end-to-end service, from plaster repairs and skim coats to interior painting and decorating. That gives you one point of contact to help coordinate the work and keep the finish consistent. We serve homeowners, businesses and construction clients across Norfolk, including Hunstanton, Kings Lynn, Swaffham, Fakenham, Norwich and Great Yarmouth.
A professional plaster finish is not just a wall that looks smooth while it’s wet. It’s a properly prepared surface, consistently covered and carefully feathered, with clean junctions and enough time to dry before decoration. If you’re planning plastering work, contact Norfolk Plaster to discuss the surface, the preparation it needs and the finish you want to achieve.

