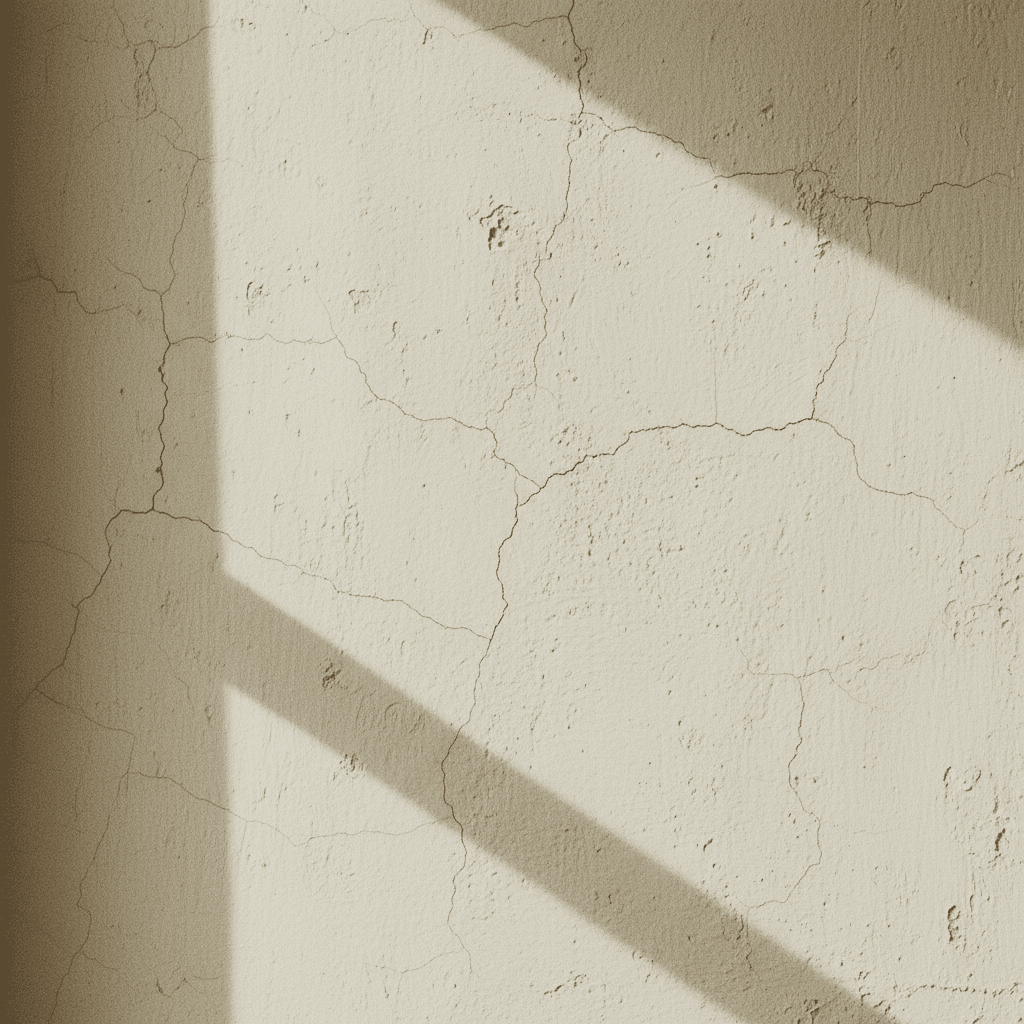
Repairing cracked ceiling plaster involves digging out the crack ( which will make sure any lose plaster won't come back ), applying fiberglass mesh tape (scrim tape), and filling the gap with a durable jointing compound. This process stabilises the area before you sand and paint for a seamless finish; however, structural cracks or sagging lath often require professional intervention.
Few things disturb the peace of a well maintained Norfolk home quite like the sudden appearance of a jagged crack across a ceiling. Whether you reside in a Victorian terrace or a traditional flint cottage, these fissures often signal more than just aesthetic wear; they represent the natural movement of a building over time. Addressing these imperfections correctly is vital to preserve the structural integrity and historical character of your property. In this guide, we will examine the common causes of ceiling damage in our local area and help you distinguish between harmless hairline marks and serious structural concerns. You will learn the specific techniques required for a lasting repair, the best professional fillers for the job, and how to determine when a project requires the expertise of a specialist plasterer.
Why Ceiling Cracks Are Common in Norfolk Homes
Norfolk homes, ranging from the flint cottages of Fakenham to the Victorian terraces of Norwich, are uniquely susceptible to ceiling cracks. A primary factor is natural house settlement, which is particularly common in the older masonry of Hunstanton seaside properties. Over decades, the heavy materials used in period property restoration adjust to the ground, often manifesting as fine lines across the ceiling.
Environmental factors are equally significant along the North Norfolk coast. Significant fluctuations in coastal humidity and temperature cause internal timber joists to expand and contract. Because traditional plaster is a rigid medium, this constant breathing results in hairline fractures. These are generally cosmetic, yet they differ fundamentally from cracks caused by structural instability or poor previous workmanship.
When investigating how to repair cracked ceiling plaster, it is essential to differentiate these minor movements from more serious issues. If you notice sagging or recurring wide gaps, it may indicate that the plaster's bond to the laths has failed, a common issue for those seeking plastering services in Kings Lynn. Understanding these regional triggers is the first step in maintaining the structural integrity and aesthetic finish of your home.
Assessing the Damage: Is it a Hairline Crack or a Structural Concern?
Before deciding how to repair cracked ceiling plaster, you must determine if the issue is cosmetic or a symptom of something more serious. Most homeowners ask, "Should I be concerned about the cracks in my ceiling?" The answer usually depends on the width, location, and shape of the aperture.
Hairline cracks are typically less than 1mm wide and often resemble a spider web or a single fine thread. In the context of our professional plastering, painting, and decorating services, we frequently see these in older North Norfolk properties where the building is simply breathing with the seasons. These are generally safe to monitor or repair cosmetically. Conversely, cracks wider than 3mm, roughly the thickness of a pound coin, require professional inspection. Stair-step cracks, which zig-zag across the surface, often suggest movement in the building framework or foundation.
Use this checklist to evaluate your ceiling health:
Sagging or dipping: If the ceiling appears to bow downwards, the plaster may have detached from the laths or joists. This is a significant safety risk.
Brown or yellow staining: Discolouration usually indicates an active or historical leak, which weakens the plaster and may lead to sudden collapse.
Wall-to-ceiling continuity: Cracks that start in the ceiling and continue down the wall often point to structural settlement rather than simple plaster fatigue.
Multiple cracks in one area: A cluster of cracks often suggests localized weight stress or failing timber.
If you identify any of these red flags, the priority shifts from aesthetics to structural integrity. Diagnosing the root cause correctly ensures that any subsequent repair is permanent rather than a temporary mask.
Lath and Plaster vs Plasterboard: Identifying Your Ceiling Type

Identifying the material behind your finish is the first step in deciding how to repair cracked ceiling plaster effectively. In period properties across Swaffham and Fakenham, you are likely dealing with traditional lath and plaster. You can often identify this by gently pressing upward; plasterboard feels rigid, while lath and plaster has a slight 'give' or spring. Tapping the surface also helps, as plasterboard sounds consistently hollow, whereas lath and plaster sounds dense and varies across the room.
Unlike modern plasterboard sheets, lath and plaster relies on a mechanical bond. Craftsmen pushed wet plaster through thin wooden strips, known as laths, creating 'nibs' or 'keys' on the hidden side that hooked the plaster in place. This system is what makes period property restoration so delicate. Over a century of vibration and seasonal movement common to the North Norfolk coast, these nibs can become brittle and snap.
When these keys fail, the plaster becomes 'blown,' meaning it is no longer structurally attached to the timber. While a generic DIY guide might suggest a simple filler, a failing lath and plaster ceiling is a significant safety hazard. If the bond has gone, the weight of the plaster is supported only by its own internal tension, leaving it prone to sudden, total collapse.
How to Repair Cracked Ceiling Plaster: The DIY Approach for Minor Cracks
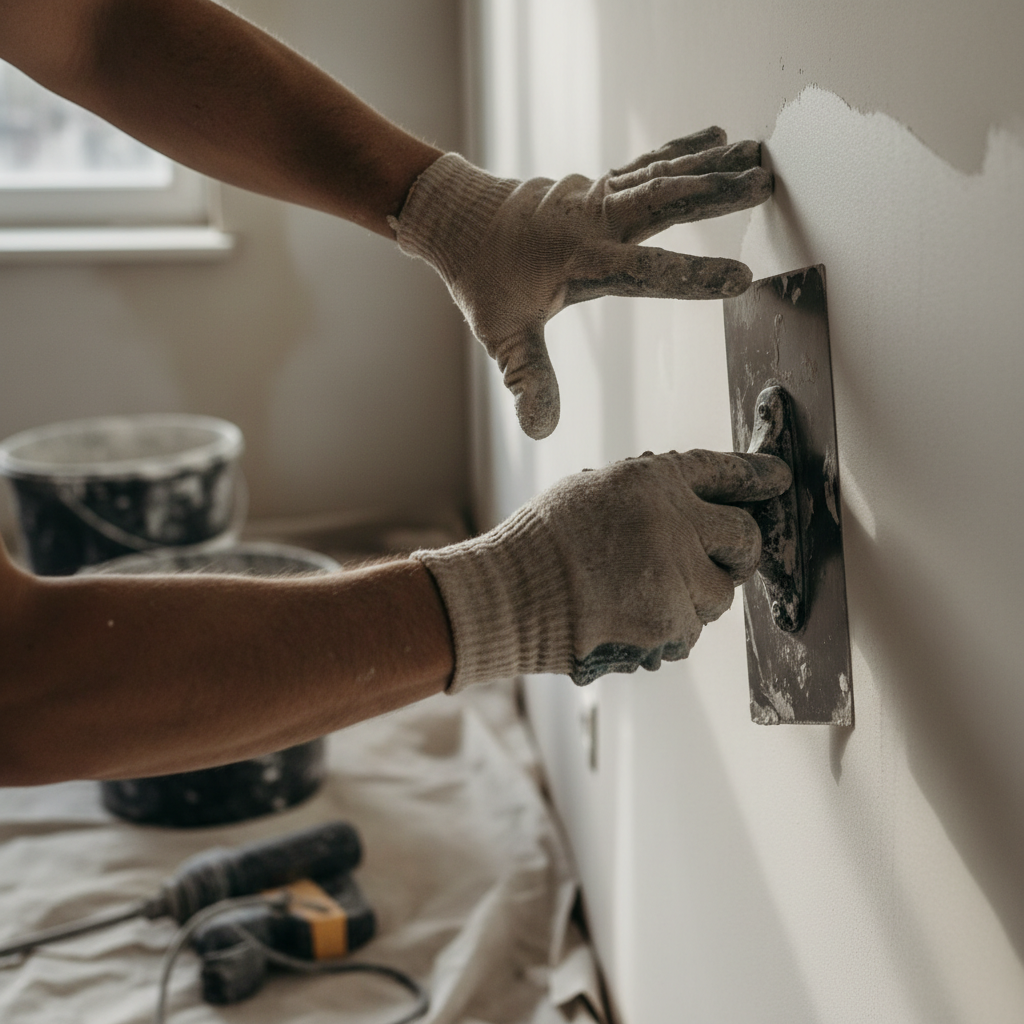
Once you have confirmed that the damage is purely cosmetic and the plaster remains securely bonded to the laths or joists, you can proceed with a localized repair. This approach is specifically intended for stable hairline cracks. If the plaster feels spongy or the crack is wider than a few millimetres, a simple patch will likely fail, and you may require professional plastering, painting, and decorating services to ensure a permanent fix.
To achieve a result that blends with the rest of your ceiling, follow these professional steps:
V-out the crack: A common mistake is attempting to smear filler over a hairline crack. Instead, use the edge of a sharp scraper or a utility knife to gently widen the crack into a V-shape. This creates a larger surface area and a 'key' for the filler to grip, ensuring the repair does not simply fall out once dry.
Clear the dust and debris: Use a stiff brush or a vacuum with a brush attachment to remove all loose material from the channel you have created. In older properties across Swaffham and Fakenham, historical lime dust can be particularly stubborn; if the area is not completely clean, the filler will fail to bond.
Apply self-adhesive scrim tape: Cover the widened crack with a length of fibreglass scrim tape. This mesh acts as a reinforcement, bridging the gap and providing the tensile strength necessary to resist the minor 'breathing' movements common in Norfolk homes.
Apply jointing filler in thin layers: Using a wide filling knife, apply your jointing filler over the scrim tape. Avoid the temptation to finish the job in one thick coat, as this leads to shrinkage and cracking. Instead, apply two or three thin layers, feathering the edges further out with each application to create a gradual transition to the original ceiling level.
Sand and prime: Once the final layer is completely dry, use a fine-grit sanding block to smooth the area. For properties along the North Norfolk coast, such as those in Hunstanton or Blakeney, we strongly recommend using a moisture-resistant primer. The salt-laden air and coastal humidity can penetrate standard emulsions, but a dedicated primer provides a stable base for the final paint finish.
While these steps provide a tidy cosmetic finish for minor issues, they do not address the root cause of the movement. If you find yourself repeatedly repairing the same area, it is a sign that the ceiling requires more than a DIY patch.
The Best Filler for Cracks in a Ceiling: Professional Recommendations
Selecting the correct material is vital for a repair that withstands the test of time. When homeowners ask what the best filler for cracks in a ceiling is, the answer usually lies in the difference between drying and setting. Most off-the-shelf, ready-mixed fillers are air-drying products; they are prone to significant shrinkage as moisture evaporates, often leaving a concave finish that requires multiple applications.
Filler Type | Application | Pros | Cons |
|---|---|---|---|
Powder (Setting) | Structural repairs | Chemical bond, zero shrinkage | Requires mixing, fast set time |
Ready-Mixed | Minor surface scuffs | Convenient, easy to sand | High shrinkage, lacks strength |
Professional decorators and those providing plastering services in Kings Lynn typically favour powder-based setting compounds like Gyproc EasiFill. These products undergo a chemical reaction to harden, which prevents the cracking and pulling common with lightweight spackle. For successful period property restoration, using a denser setting compound is essential. It provides a stable base when you are learning how to repair cracked ceiling plaster, ensuring the patch remains flush with the surrounding surface even as the building naturally moves. This density is particularly important in Norfolk coastal homes, where salt-laden air and shifting humidity levels can cause softer, lightweight fillers to fail prematurely.
Why DIY Ceiling Repairs Often Fail in Period Properties
In many older Norfolk cottages, simply learning how to repair cracked ceiling plaster with a tub of filler often results in a "sticking plaster" solution that masks a deeper issue. The primary reason DIY efforts fail in period homes is that the crack is rarely just a surface blemish; it is often the first sign of "blown" plaster. This occurs when the historical lime plaster has physically detached from the wooden laths. When the mechanical bond is gone, no amount of surface filler can re-establish the structural integrity of the ceiling.
Professional restorers approach this differently to ensure a permanent, seamless transition. If the original lath and plaster is largely intact but unstable, we may recommend overboarding. This involves securing new, fire-rated plasterboard directly to the ceiling joists through the old plaster, providing a perfectly flat, safe surface for a fresh finish. Alternatively, for localized failures, we meticulously remove the blown sections and re-plaster to match the original contours.
Crucially, many DIY fillers and modern paints are not breathable. For traditional Norfolk flint or masonry properties, using non-permeable materials traps moisture within the ceiling void, which eventually forces the repair to fail again. A professional period property restoration utilizes materials compatible with the building's age, allowing the structure to regulate moisture naturally. This expert approach is the only way to break the cycle of recurring cracks and ensure the safety of the rooms below.
When to Call a Professional Plasterer in Norfolk
Recognizing the limits of a DIY patch is essential for maintaining the structural integrity of your home. You should seek plastering services in Kings Lynn if you observe any visible sagging or bowing, as this indicates the plaster is no longer secured to the joists and poses a collapse risk. Additionally, if you find yourself repeatedly researching how to repair cracked ceiling plaster for the same recurring area, the movement is likely structural and beyond the capabilities of over the counter products. Any aperture wider than a pound coin, approximately 3mm, or cracks that intersect with damp, brown staining, require an immediate professional assessment.
High quality finishes also necessitate an expert hand. If you intend to apply a high sheen or silk emulsion, the slightest imperfection in a DIY repair will be highlighted by shifting light. Norfolk Plaster offers a seamless transition between the repair and the final decorative layer, ensuring the textures are indistinguishable. For complex period property restoration, our team manages the entire process from stabilizing the substrate to the final brushstroke. This integrated approach ensures that homes from Hunstanton to Norwich receive professional plastering, painting, and decorating services that are both structurally sound and visually flawless.
Preparing Your Room for Professional Ceiling Repair
Homeowners in Kings Lynn or Holt should begin by clearing the work area of all portable furniture and delicate items. For larger pieces that remain, move them to the center of the room to allow our team full perimeter access. While you may have researched how to repair cracked ceiling plaster to handle minor issues, the professional process involves intensive sanding to achieve a flat, invisible finish. This phase inevitably generates fine dust.
We recommend covering floors with a layer of corex or heavy-duty plastic sheeting rather than thin cotton dust sheets, which can allow dust to permeate. For a detailed checklist on protecting your property, refer to our guide on how to prepare your home before plasterers and decorators arrive. This preparation ensures our professional plastering, painting, and decorating services can proceed efficiently while protecting the character of your home.