
Homeowners can master how to repair cracked plasterboard by scoring the crack with a utility knife, removing loose debris, and applying joint tape. Once the tape is in place, apply joint compound in thin layers; sand the area smooth after it dries to ensure a seamless finish for your walls or ceilings.
Discovering a hairline fracture running across a freshly painted wall/ ceiling is a common frustration for many Norfolk homeowners, especially those living in our county's historic flint cottages or properties subject to coastal shifting. While these cracks often appear minor at first, they act as a persistent reminder of underlying movement; if they are ignored, they can quickly compromise the aesthetic integrity of your interior finish. Addressing these blemishes requires more than a simple layer of filler. This guide provides an expert perspective on achieving a professional-grade restoration. You will learn how to correctly diagnose the cause of the damage, the essential materials needed for a durable bond, and the specific techniques for taping and feathering that ensure a seamless repair. From preparing the substrate to the final sanding stage, we provide the practical steps required to return your surfaces to a flawless, showroom condition.
Understanding Why Plasterboard Cracks in Norfolk Properties
Norfolk properties are subject to specific environmental stresses that often manifest as unsightly fissures in interior walls. In coastal towns like Hunstanton, the significant shift in maritime humidity and temperature causes timber studwork to expand and contract. This movement exerts constant pressure on the boards, leading many residents to seek advice on how to repair cracked plasterboard before redecorating.
In market towns like Swaffham, the challenge often lies in the natural settlement of period flint cottages. These older structures continue to shift subtly over centuries, resulting in movement that modern plasterboard struggles to accommodate without specialized jointing. Meanwhile, properties located near arterial routes in busier hubs like Norwich or King’s Lynn frequently experience cracks triggered by the constant vibration of heavy traffic on historic foundations.
It is vital to distinguish between cosmetic and structural issues. Fine hairline cracks are typically the result of seasonal shrinkage or the natural drying out of materials. These are manageable through standard plastering, painting, and decorating techniques. However, gaps wider than 5mm or diagonal cracks emanating from the corners of door frames may signal deeper structural movement. For these complex cases, professional cracked wall repair services are often required to ensure the underlying cause is stabilized before a high quality finish is applied.
Identifying Your Crack, When to DIY and When to Call a Professional
Determining the severity of a crack is the first step in deciding whether to pick up a taping knife or call in a specialist. Many homeowners ask when they should worry about cracks in plaster; the answer generally lies in the width and the orientation of the damage. For a quick assessment, use a simple measurement threshold to categorize the issue:
Crack Width | Likely Cause | Recommended Action |
|---|---|---|
Under 1mm | Seasonal shrinkage or drying | Cosmetic DIY repair |
1mm to 5mm | Minor movement or joint stress | DIY repair using joint tape |
Over 5mm | Significant settlement | Professional structural assessment |
Hairline cracks under 1mm are almost always cosmetic, often caused by the central heating being turned on for winter or the drying of new skim coats. These rarely indicate a problem with the underlying substrate. Cracks measuring between 1mm and 5mm are typically stable enough for a homeowner to address, provided they use the correct reinforcement tape to bridge the gap and prevent the movement from reflecting through the new finish.
Diagonal cracks that originate from the corners of door frames or windows, particularly in older North Norfolk flint cottages, require a more cautious approach. These patterns can indicate that the lintel or the foundation is under stress. To further investigate, perform what professionals call a tap test. Lightly rap your knuckles across the area surrounding the crack. A sharp, solid sound indicates the plasterboard is still firmly attached to the timber studwork. A hollow, drum-like sound suggests blown plaster, where the board has detached or the skim has delaminated. In cases of blown plaster or wide structural gaps, engaging cracked wall repair services is essential to ensure the wall is stabilized. Similarly, when dealing with overhead issues, repairing cracked plaster ceilings often demands even greater scrutiny due to the added risk of board sagging and gravity pulling the repair out over time.
Essential Tools and Materials for a Seamless Repair
The transition from assessment to action starts with the right kit. Achieving a professional finish requires more than a simple tub of all-purpose filler from a local DIY shop. To execute a repair that matches the standard of high quality plastering, painting, and decorating, you need a specific set of tools and materials designed for structural integrity and a smooth transition.
Material / Tool | Application |
|---|---|
Utility Knife (Stanley) | Used to rake out the crack and create a 'V' groove. |
Scrim Tape or Paper Tape | Reinforces the joint to bridge the movement. |
Toupret or Easifill 60 | Professional grade compounds for filling and finishing. |
6-inch Taping Knife | Ideal for the initial application and embedding the tape. |
10-inch Taping Knife | Necessary for feathering the edges to an invisible finish. |
Selecting the correct filler depends entirely on the crack's characteristics. For fine hairline cracks, a flexible filler, such as those within the Toupret range, allows for minor thermal movement without cracking the paint finish. For larger gaps, a setting compound like Easifill 60 is superior; it provides a hard, stable base that adheres firmly to the plasterboard core.
Having both a 6-inch and 10-inch taping knife is essential for anyone learning how to repair cracked plasterboard. The smaller blade allows you to apply pressure directly over the crack to fill the void, while the larger knife is crucial for spreading the compound wide enough to disguise the repair. This feathering technique ensures that the patch does not look like a hump on your wall once the final paint is applied.
Step 1: Preparation and Widening the Crack
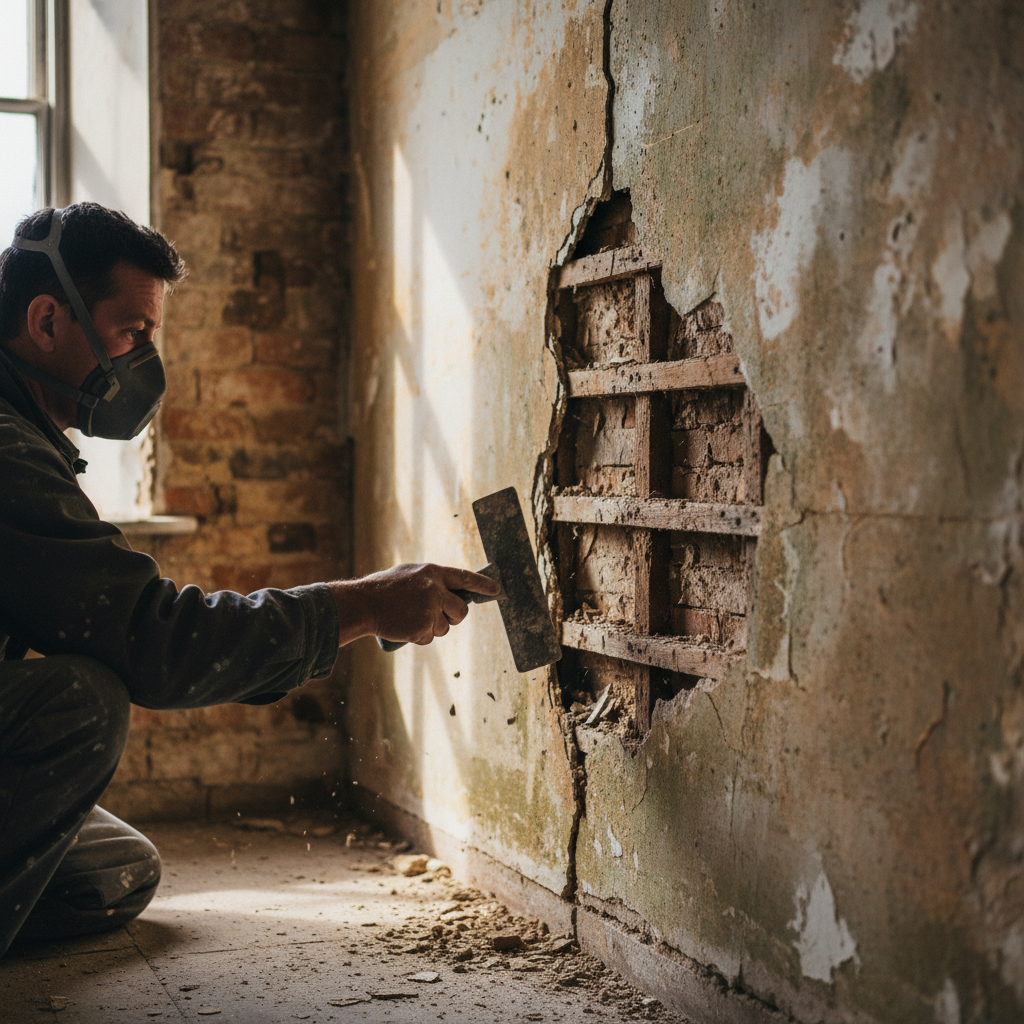
Before reaching for the filler, you must properly prepare the substrate. A common mistake when learning how to repair cracked plasterboard is simply applying compound over the existing fissure. This approach fails because the crack is too narrow for the filler to penetrate deeply, leading to a superficial patch that will likely fail within months. Instead, use a sharp utility knife to rake out the crack, creating a distinct V-groove approximately 3mm to 5mm wide. By widening the edges, you increase the surface area for the new material to bond securely with the plasterboard core.
Once the groove is established, clear away any loose or crumbling edges. A crucial step often overlooked by DIYers is removing the residual gypsum dust; if left behind, this dust acts as a barrier that prevents the filler from adhering properly. Use a vacuum with a brush attachment to ensure the channel is completely clean. For those living in older coastal properties or flint cottages, check for signs of dampness before proceeding. The high humidity levels along the North Norfolk coast can compromise the bond strength of your materials. If the area feels cold or damp to the touch, the underlying moisture issue must be resolved through professional cracked wall repair services before any cosmetic work begins.
Step 2: Taping the Joint to Prevent Recurrence
With the V-groove cleaned and prepared, the next phase is to provide the structural reinforcement that prevents the crack from reappearing. This is where many DIY attempts fail by simply skimming over the gap without a bridge. When looking at how to repair cracked plasterboard, the choice between self-adhesive mesh tape and paper tape is often debated. For most homeowners, self-adhesive fibreglass mesh is the practical choice because it sticks directly to the board, making it easier to manage. However, professionals often prefer paper tape; it provides a significantly stronger bond and higher resistance to future movement, though it requires more skill to bed into a layer of wet compound.
Apply your chosen tape by centering it precisely over the widened groove. Press the tape firmly against the substrate to ensure it lies perfectly flat without ripples or bubbles. This mesh or paper layer acts as a tension bridge, absorbing the minor shifts common in coastal or period properties. If the tape struggles to adhere to older plaster, you may need specialist cracked wall repair services to stabilize the area. For homeowners repairing cracked plaster ceilings, keeping the tape taut is critical to prevent the repair from sagging under its own weight before the compound sets. This reinforcement is the hidden, structural part of a high quality plastering, painting, and decorating finish.
Step 3: Applying Joint Compound and Feathering the Edges
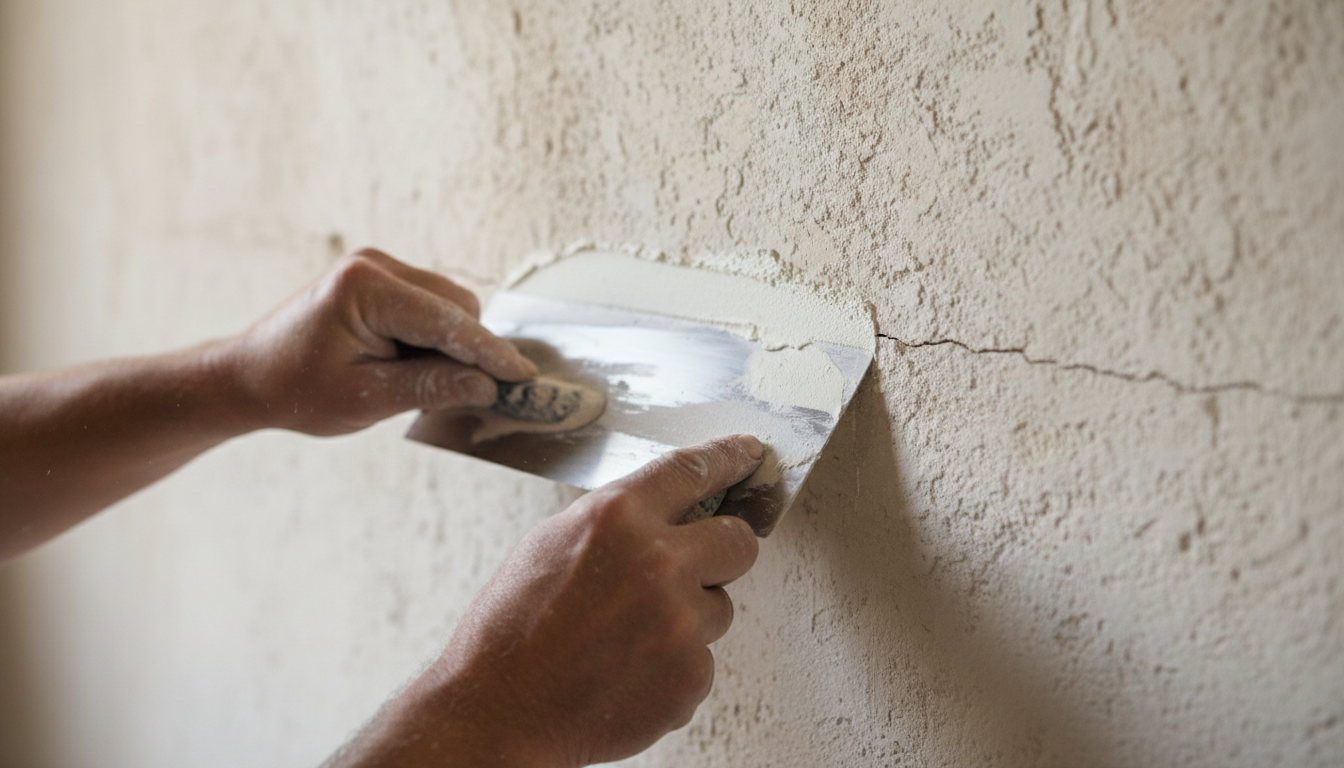
Once the tape is securely positioned, you can begin the application of the joint compound. The quality of your finish is dictated by the consistency of the mix. Aim for a texture resembling thick Greek yogurt or smooth peanut butter; it must be supple enough to spread without dragging but firm enough to stay on your knife without dripping.
This is a two coat process. Use your 6 inch knife for the first pass, forcing the compound through the tape into the V-groove to create a solid anchor. This layer should be just thick enough to cover the tape while filling the void. Once this has firmed up, move to your 10 inch knife for the second coat. This stage is where you feather the edges to make the repair disappear. Apply the compound and pull the knife away from the center, gradually decreasing pressure to taper the thickness to zero, roughly 6 to 10 inches from the crack.
Remember that less is more. Thin, controlled layers result in a flatter surface and significantly reduce the amount of dust generated during the final stages. This careful approach is what separates a DIY patch from professional plastering, painting, and decorating. If you are learning [how to repair cracked plasterboard] for the first time, focus on keeping the knife clean and the strokes long to avoid creating ridges that are difficult to sand back later.
Step 4: Sanding and Preparing for Paint
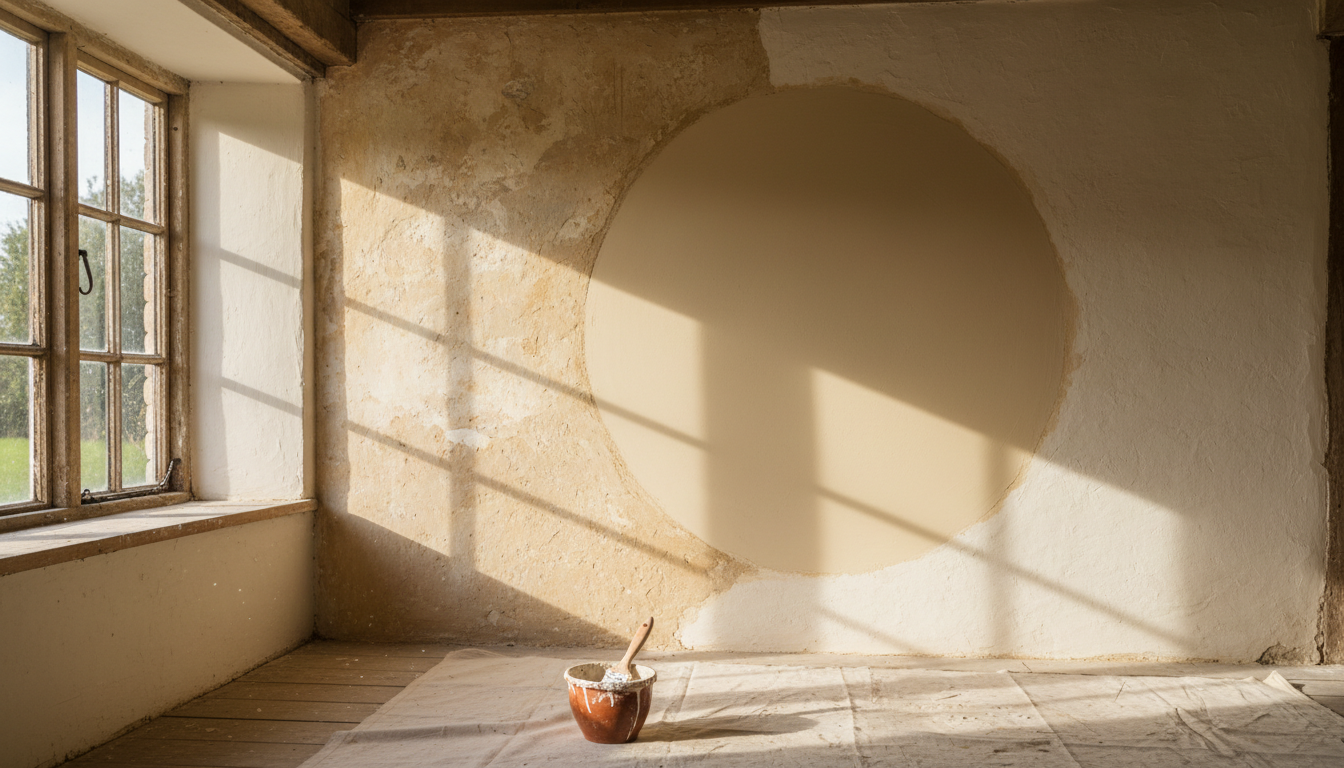
Once the joint compound has fully cured, the final stage is to achieve a surface that is indistinguishable from the surrounding wall. Start with a 120-grit sandpaper to level any high ridges left by the taping knife. Use long, circular motions rather than localized scrubbing to avoid gouging the soft filler. After the initial leveling, switch to 180-grit sandpaper for a fine, polished finish. To ensure the repair is truly flat, hold a work light or a strong torch at an acute angle against the wall. This grazing light casts shadows over even the smallest imperfections, allowing you to sand precisely where needed.
Effective dust management is essential for a clean finish. Use a sanding block with a vacuum attachment or keep a damp cloth nearby to wipe down the area between passes. Before the final paint application, large repairs require a mist coat. This is a diluted layer of emulsion, usually mixed with 30% water, which seals the porous filler. Without this step, the new material will suck the moisture out of your topcoat too quickly, leading to poor adhesion and an uneven sheen. This attention to detail ensures your plastering, painting, and decorating project achieves a professional, seamless result when learning how to repair cracked plasterboard.
How to Repair Cracked Plasterboard Ceilings Specifically
Ceiling repairs present a unique challenge when learning how to repair cracked plasterboard because they are constantly fighting gravity and the kinetic energy of foot traffic from floors above. Unlike a vertical wall, a ceiling crack often indicates that the board has slightly dropped or lost its tight connection to the timber joists. Before applying any compound, you must ensure the substrate is stable. Press firmly near the crack; if there is any vertical play or bounce, the board requires mechanical stabilization.
Use 38mm or 42mm drywall screws to secure the plasterboard back into the nearest joists, keeping the screw heads slightly recessed without breaking the paper surface. This mechanical fixing provides a rigid foundation that prevents vibration from reopening the joint. Once the movement is eliminated, you can proceed with the V-groove and taping process. For complex overhead work, especially where large sections have sagged, repairing cracked plaster ceilings often necessitates professional intervention. Specialist cracked wall repair services can ensure the structural integrity is restored before the final plastering, painting, and decorating finishes are applied to a flat, safe standard.